Nature
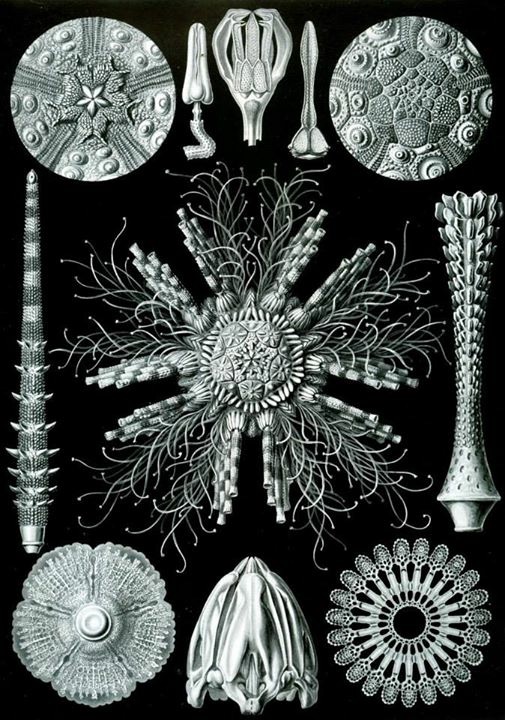
Vintage Science Mandalas
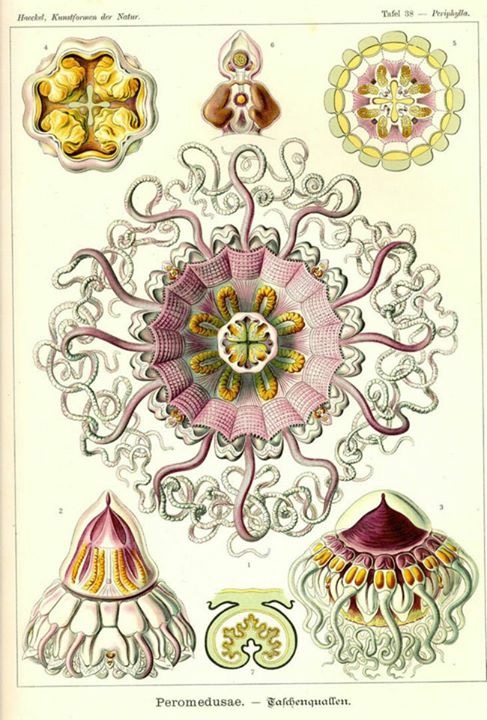
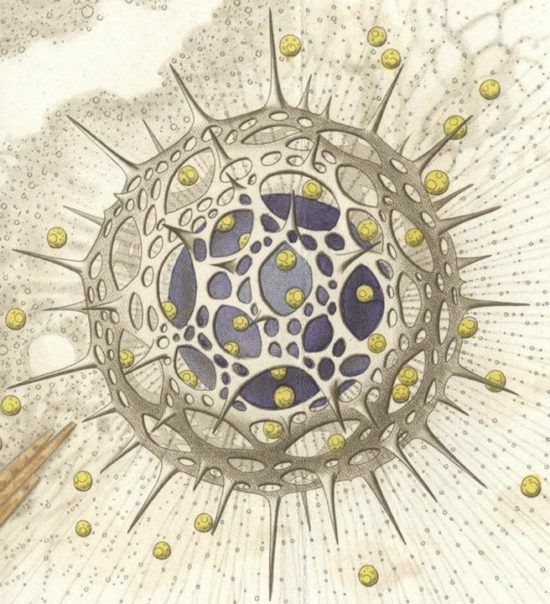
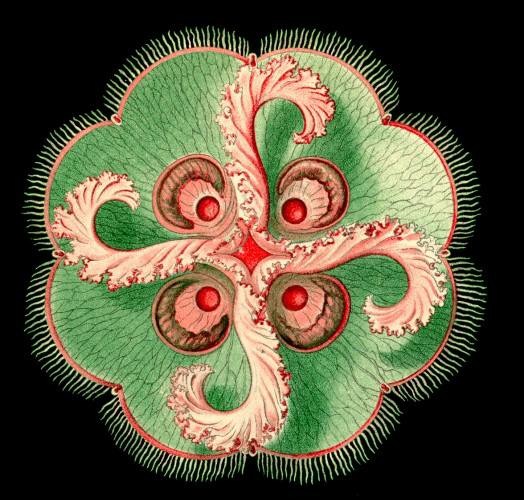
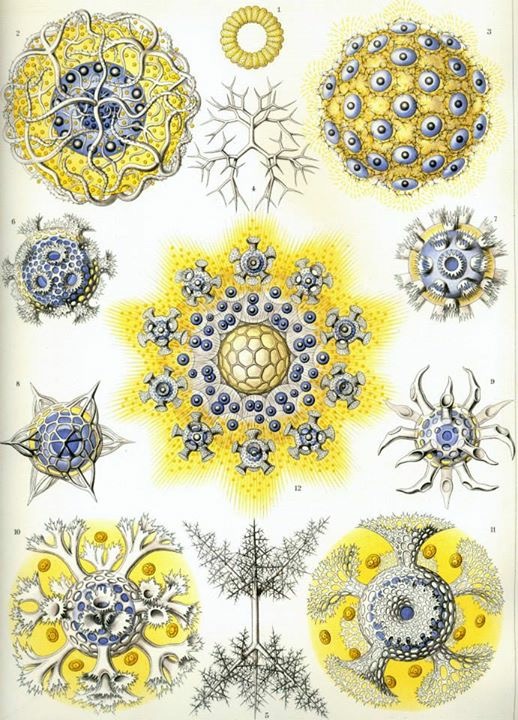
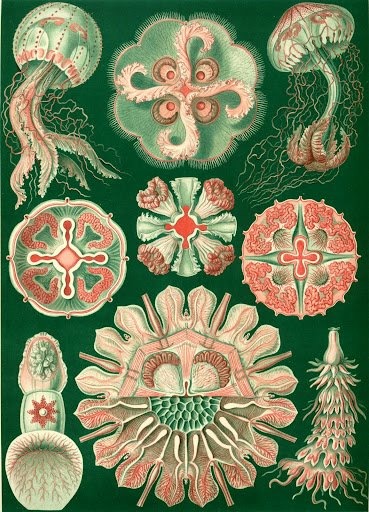
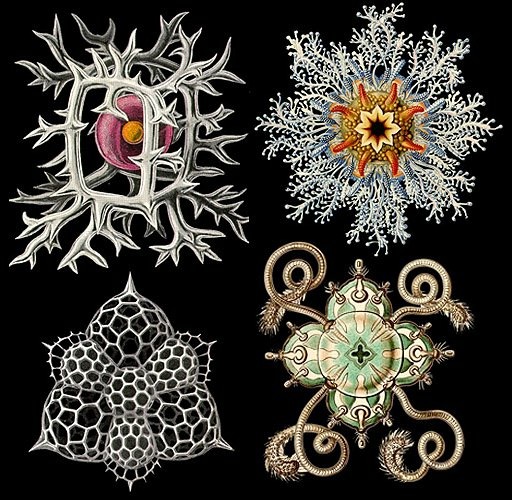
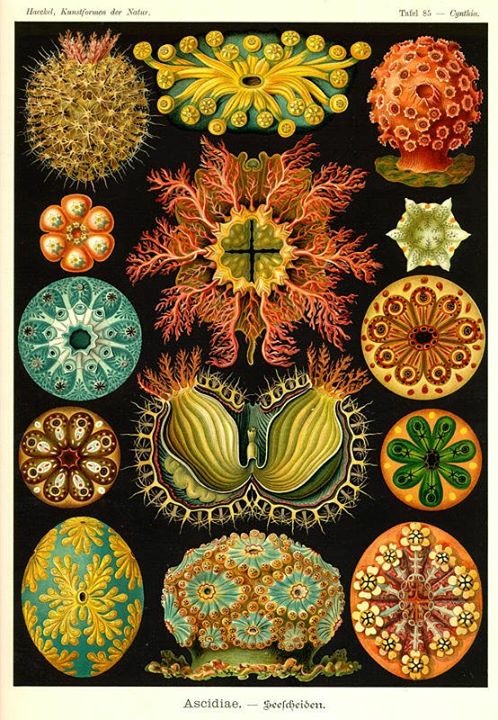
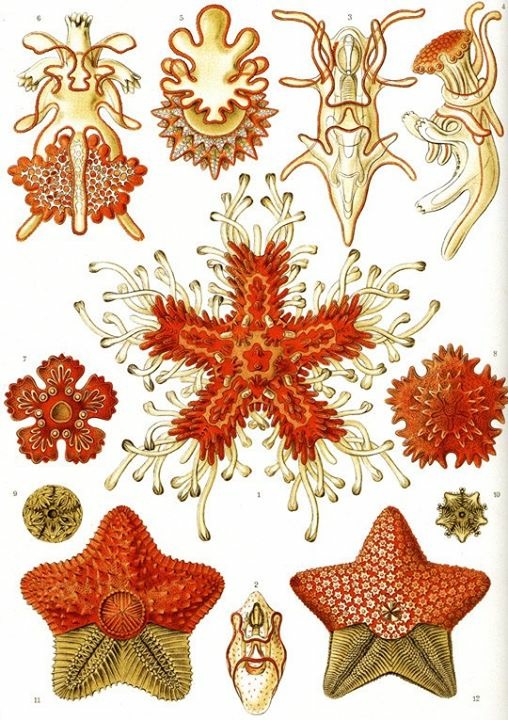
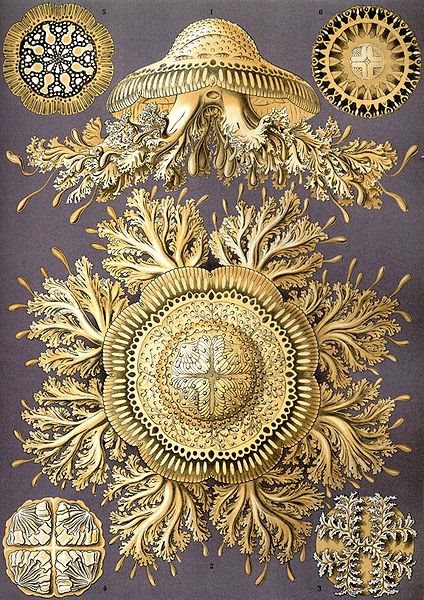
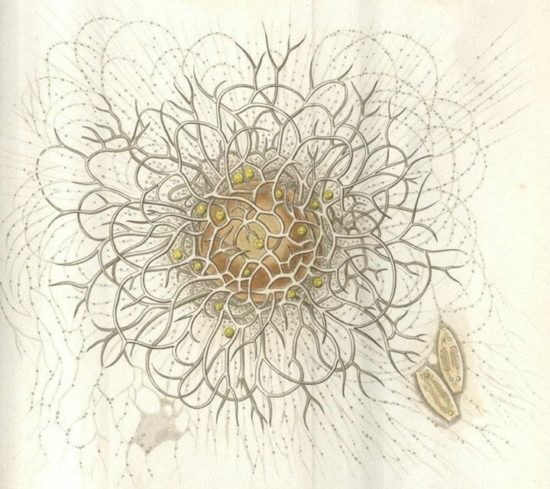
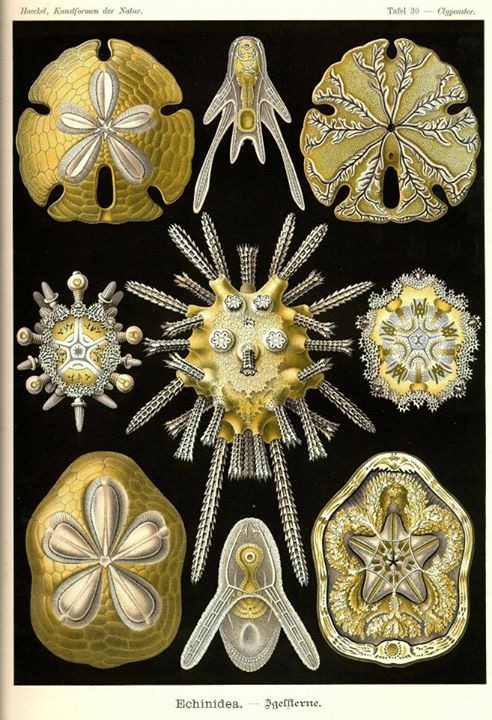
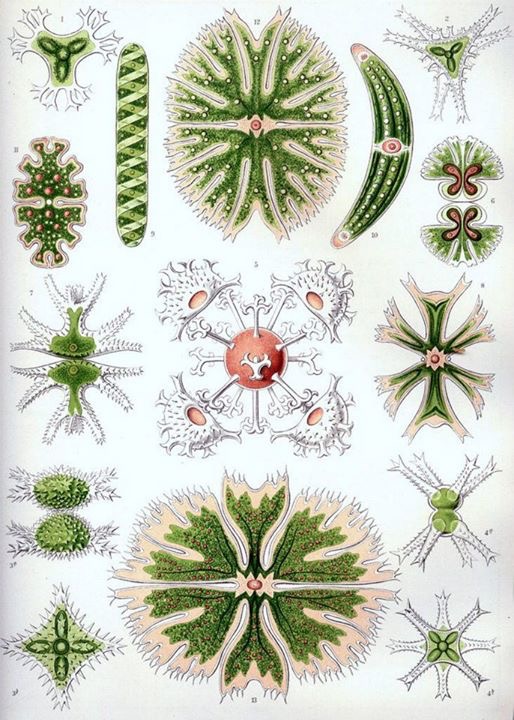
There was a time when, instead of documenting the natural world with photographs, scientists made detailed drawings and paintings. . Many of these detailed drawings look very much like mandalas. Here is a collection of some of my favorites.


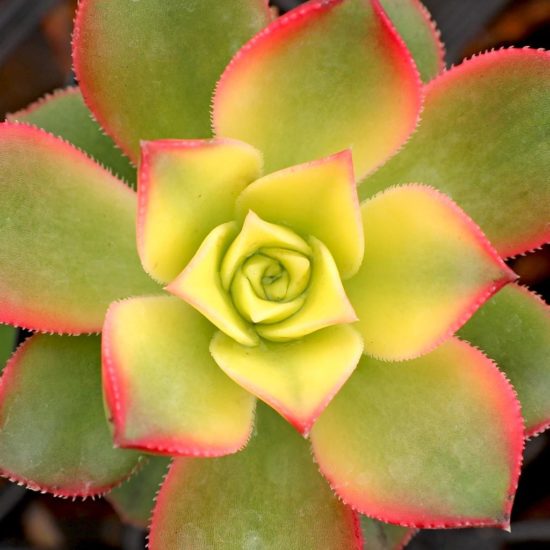
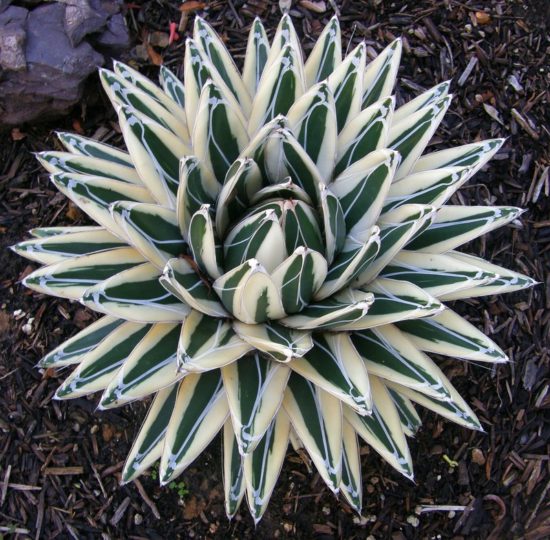
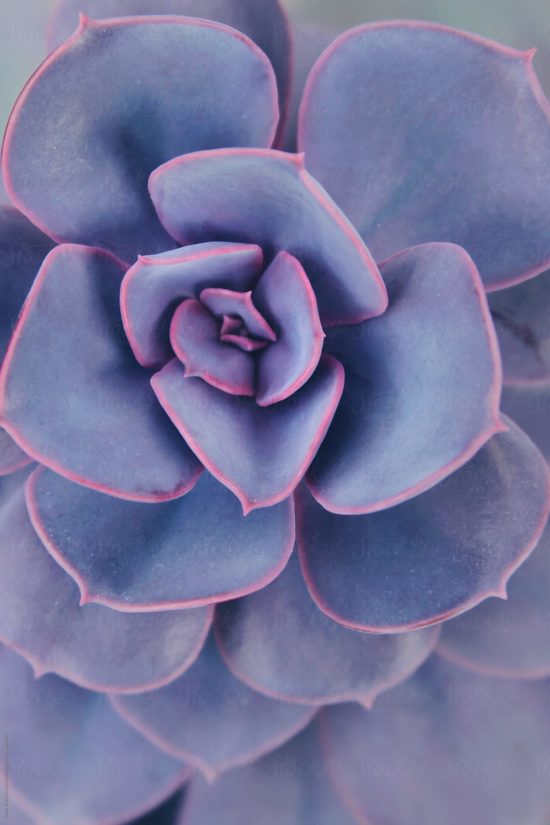
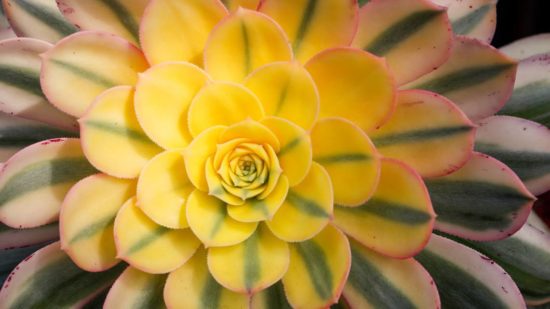
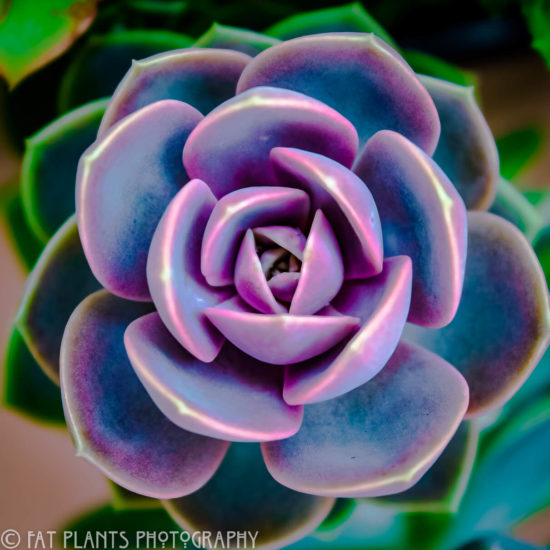
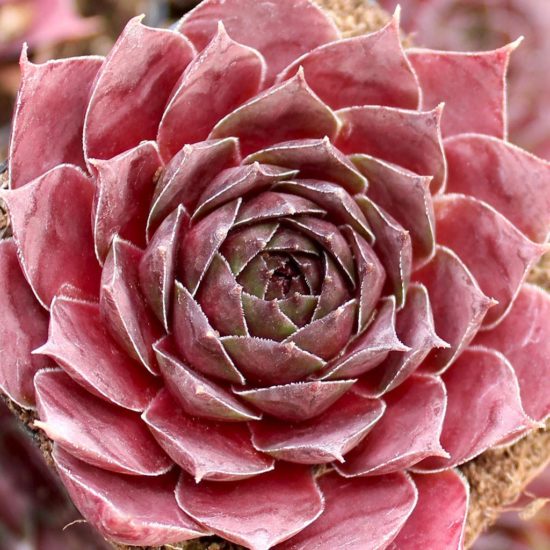
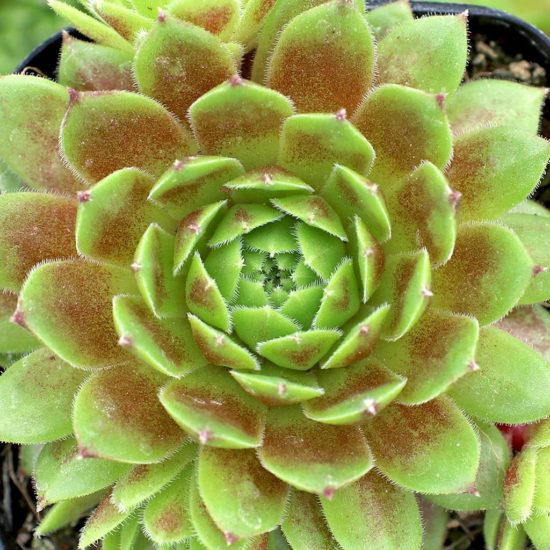
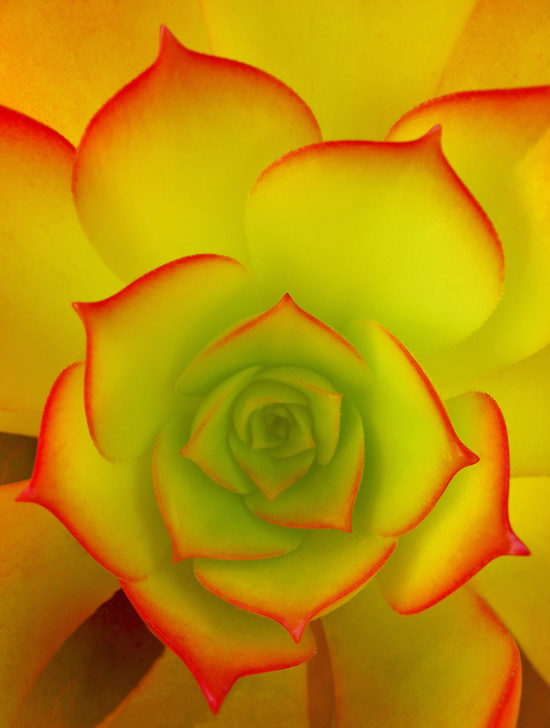
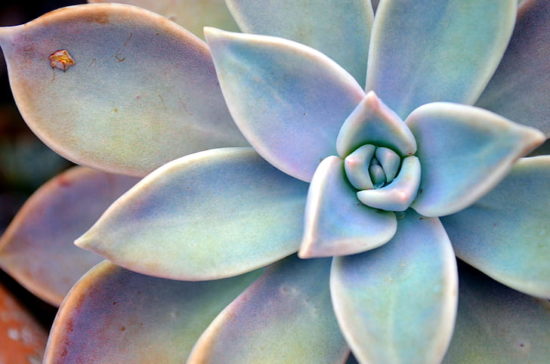
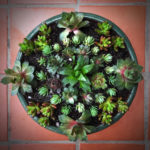
Succulent Mandalas
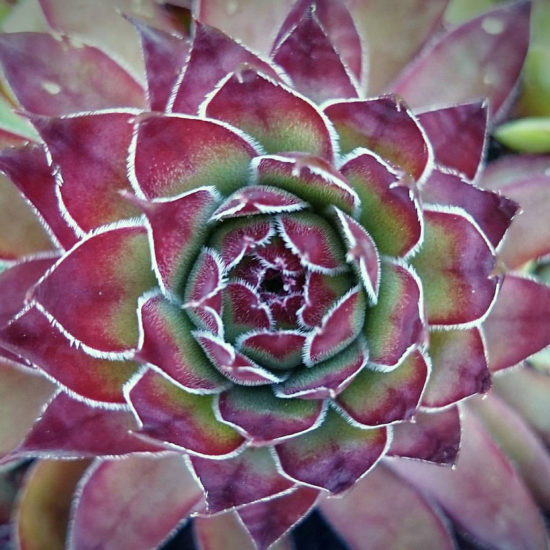
Mother Nature makes the best mandalas! Here is a collection of photographs featuring the mandala artistry of nature.


The Seed of God

The seed of God is in us.
Now
The seed of a pear tree
Grows into a pear tree;
And a hazel seed
Grows into a hazel tree;
A seed of God
Grows into
God.
~Meister Eckhart
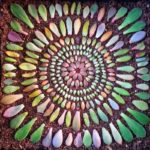
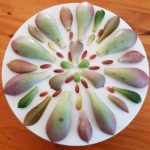
Succulent Propagation Mandalas
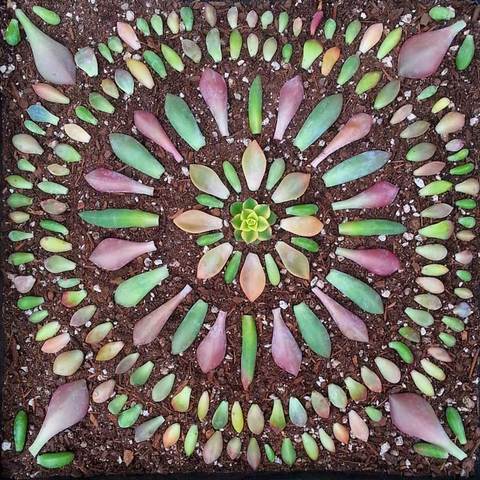
From Leaf and Clay, we have this great little tutorial on how to make succulent propagation mandalas.
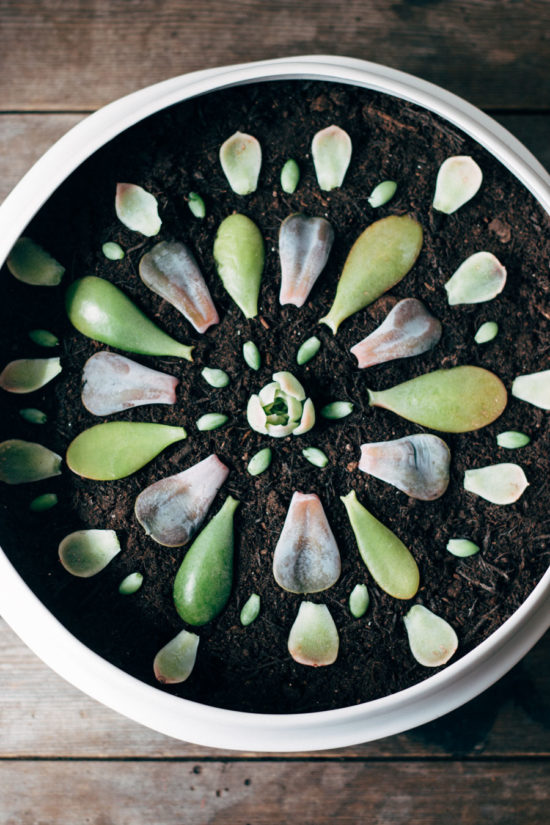
If you’ve ever propagated a succulent from a leaf, you know it’s a lengthy process. We’re talking months and months. Since I’m not the most patient person in the world I decided to make the most of it by making succulent propagation mandalas. Basically arranging the leaves in a pattern that then becomes living art. I’m excited to share some tips and tricks and hope this will inspire you to create your own!
What you’ll need:
- Succulent leaves
- Something to propagate on: a tray, bowl, serving platter, pie dish, basically anything large and sturdy enough to hold the soil and leaves.
- Soil
- Spray bottle or watering can

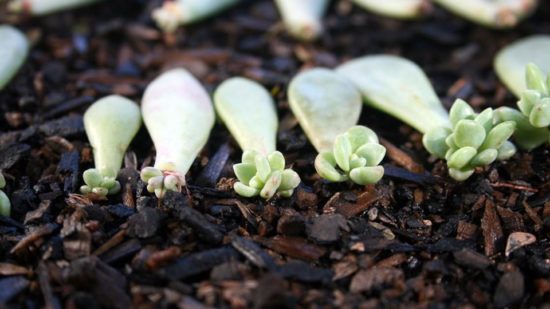
Step 1: Getting Leaves For Your Propagation Mandalas
If you’re unfamiliar with how to remove succulent leaves it’s fairly simple. Gently twist the leaf back and forth and it should snap right off. Just be sure to remove the leaf in its entirety, if it tears or a portion remains on the stem it won’t root. (If you have plants that have become “leggy” this is the perfect time to remove those bottom leaves!) After removing the leaves you need to give them a few days to dry out. Putting them directly on the soil without allowing the ends to callous over can cause them to rot instead of root. I typically wait about 2-3 days.
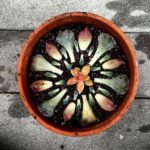
Step 2: Picking A Propagation Mandala Tray
Have you ever gone to a nursery and bought a handful of plants and been given a plastic tray to carry them on? Save them! This is the perfect opportunity to reuse them! These are great because they allow the water to drain and they’re deep enough for the roots to grow. If you have access to the trays that’s great, if not just look around the kitchen, you’re sure to find something in there that will work! Possible items to use include trays, bowls, serving platters, pie dishes, or basically anything large and sturdy enough to hold the soil and leaves.
Step 3: Filling Your Tray With Soil
I typically use E.B. Stone Naturals Cactus Mix, however, I have also used regular potting soil. Cactus soil retains less moisture which is ideal for potted succulents. When you’re propagating you won’t be doing heavy watering so it’s not as important. You’ll want at least an inch or two of soil. If you have a nursery tray put down a few layers of newspaper to prevent the soil from falling out.

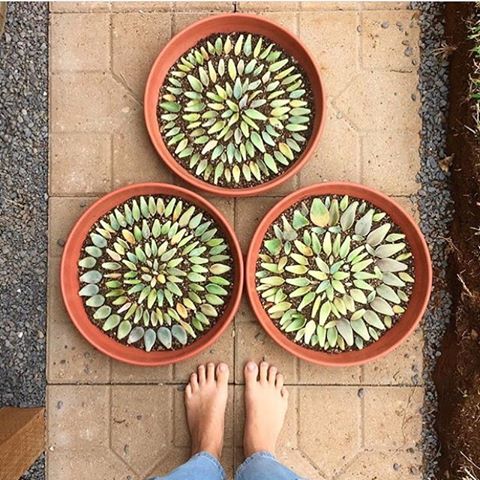
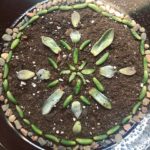
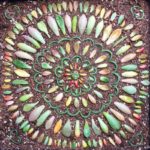
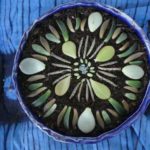
Step 4: Arrange Your Propagation Mandala
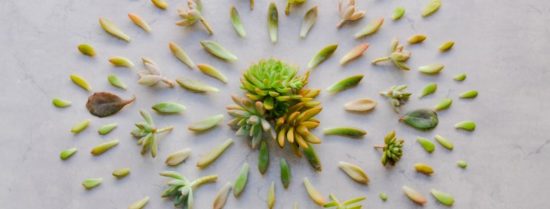
Now the fun part! I like to quickly sort my leaves by color and/or size. This makes it easier to create the mandala. Arrange your leaves in a circular and symmetrical manner. The possibilities are endless, just let your creativity flow! Take a look at some of my designs below to get some inspiration.
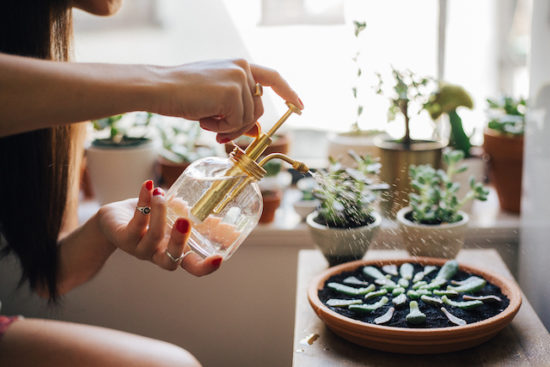
Step 5: Water Your Propagation Mandala
The simplest way to water is with a spray bottle. Unlike fully grown succulents, your leaves will need to be watered on an almost daily basis. Just give the leaves a nice spritz. Be sure you don’t soak the soil, especially if you are propagating on something that doesn’t have drainage. I use a watering can because I keep my trays outside and it’s much easier because I have so many! Never water unless the soil has completely dried from the previous watering.
Step 6: Hurry Up And Wait
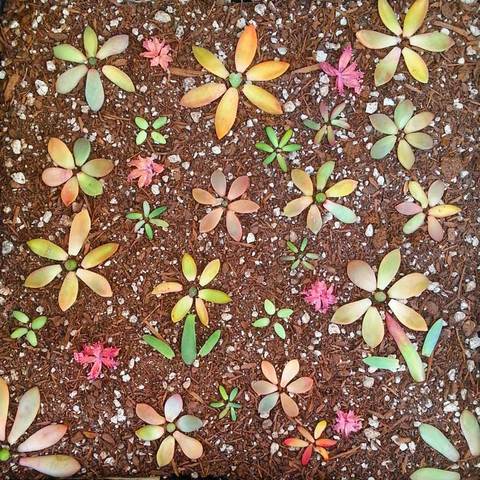
Finally, sit back and enjoy your propagation mandala! It can take months for your leaves to produce pups; at least you have something pretty to look at while you wait.
Tips:
- Place the completed mandala where it can get plenty of indirect sunlight.
- If you don’t see much progress at first, be patient. Some leaves will sprout within a week, others can take up to a month or longer.
- Know when to toss a leaf. If it begins to look transparent, feels mushy, or shrivels and dries out, toss it. Be prepared for some loss. Not all the leaves will make it but if you’re doing things right, you should only lose a few.
- This is a really fun activity to involve kids in! A pie tin is the perfect size for a child to create a mandala of their own.
- Spring/Summer is the best time to propagate!
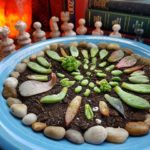
- It can also be fun to incorporate different elements. I’ve used seashells, crystals and heart shaped rocks in my mandalas.
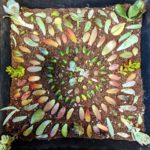
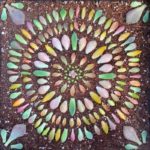
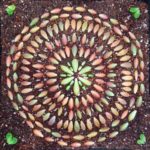
Some Ideas:

The Artist’s Mission

It is the artist’s mission to penetrate…in the womb of nature, in the primal ground of creation where the secret key to all things lies hidden.
~Paul Klee

")
I think it's time to go shopping... maybe even buy some really cool stuff at my online shops!!
")